If you want to incorporate Gravatar into your Angular project, the solution is ngx-gravatar:
https://www.npmjs.com/package/ngx-gravatar
This package features a custom directive which turns your images into Gravatars and allows for custom style configurations and other features.
Today we’ll do a very simple demo with ngx-gravatar.
Procedure
First let’s make sure we have the latest Node and npm installed on our system. Download them here:
- Node: https://nodejs.org/
- npm: https://www.npmjs.com/
Next we’ll set up our Angular project. Install the Angular CLI tool
npm install -g @angular/cli
Generate a new project
ng new gravatar
Change to the directory of the newly-created project
cd gravatar
Add Angular Material
ng add @angular/material
Now add the ngx-gravatar package via npm
npm i ngx-gravatar
Run the local dev server
ng serve
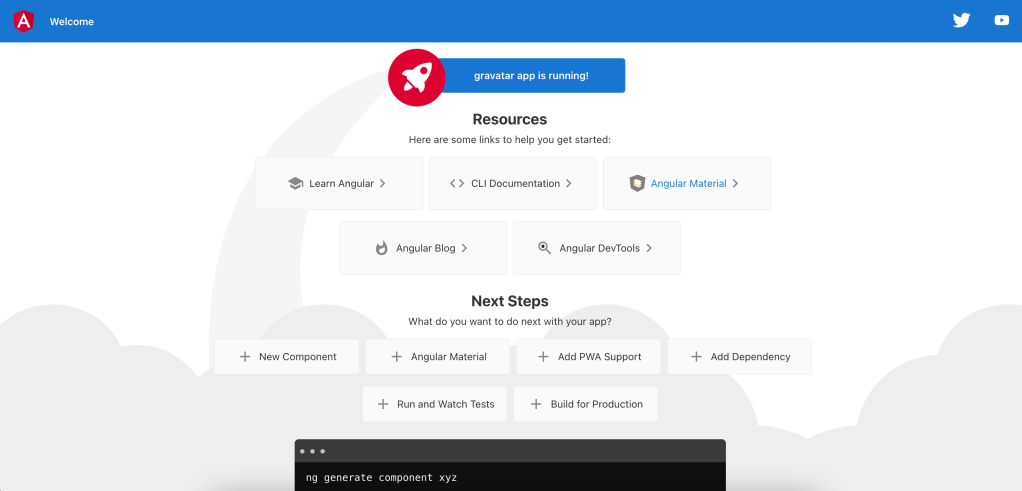
Check localhost:4200 in your browser
We need to add the Gravatar module:
app.module.ts
import { NgModule } from '@angular/core';
import { BrowserModule } from '@angular/platform-browser';
import { GravatarModule } from 'ngx-gravatar';
import { AppComponent } from './app.component';

@NgModule({
  declarations: [
    AppComponent
  ],
  imports: [
    BrowserModule,
    GravatarModule
  ],
  providers: [],
  bootstrap: [AppComponent]
})
export class AppModule { }
And now for the HTML template. We just need to add the ngxGravatar directive for the effect to work. We can further customize the image by adding properties to define the size, fallback images and style.
app.component.html
<img
  *ngFor="let f of fallbacks"
  ngxGravatar
  [size]="150"
  [fallback]="f"
  borderColor="rgba(0, 0, 0, 0.2)"
/>
app.component.ts
import { Component } from '@angular/core';

@Component({
  selector: 'app-root',
  templateUrl: './app.component.html',
  styleUrls: ['./app.component.css'],
})
export class AppComponent {
  public fallbacks = [
    'blank',
    'identicon',
    'mp',
    'monsterid',
    'retro',
    'robohash',
    'wavatar',
  ];
}
app.component.css
img {
   margin: 1rem;
}
And ✨ta-da✨, here is the result: