
You may have heard of skeleton loaders used to show placeholder content when a webpage is loading. For example:
It is possible to achieve this effect with many different libraries, but if you are using Angular you can also do this using a simple attribute directive. Today we’ll build an Angular skeleton loader directive.
Skill Prerequisites
- Fundamental HTML and CSS knowledge
- Experience with Angular 2+ and TypeScript
Source Code
Clone the final product here:
https://github.com/LucyVeron/skeleton-directive
Procedure
As in previous tutorials, let’s first install Node and npm:
- Node: https://nodejs.org/
- npm: https://www.npmjs.com/
Set up the Angular project by installing the Angular CLI tool:
npm install -g @angular/cli
Create a project:
ng new skeleton-directive
Enter the project directory:
cd skeleton-directive
Run the local development server:
ng serve
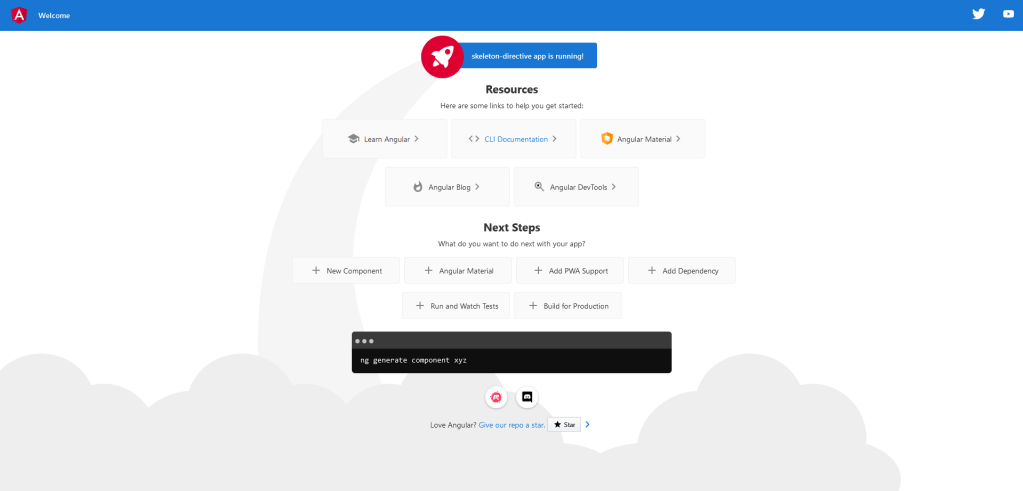
Check localhost:4200 in your browser:
We will use the following project structure:

Go inside the app folder:
cd src/app
Create a new directive called “skeleton” using the Angular CLI tool:
ng g d skeleton
We will write the following code in the directive file:
skeleton.directive.ts
import { Directive, ElementRef, HostListener, Renderer2 } from '@angular/core';

@Directive({
  selector: '[appSkeleton]',
})
export class SkeletonDirective {
  constructor(private renderer: Renderer2, private el: ElementRef) {}

  @HostListener('mouseenter') onMouseEnter() {
    this.renderer.addClass(this.el.nativeElement, 'skeleton');
  }

  @HostListener('mouseleave') onMouseLeave() {
    this.renderer.removeClass(this.el.nativeElement, 'skeleton');
  }
}
The directive uses the Renderer2 and ElementRef classes, which can be used to access and manipulate HTML elements where we will apply the directive. They help us add and remove a special class which gives the contents a “loading” appearance. We will trigger the change with a mouse hovering event.
The HTML template will contain the skeleton loader. Notice that we write the appSkeleton directive in the outermost div tag. This will apply the effect to this element and its contents:
app.component.html
<div appSkeleton>
  <h1>🦴Skeleton Loader Demo🦴</h1>
  <p>
    Lorem ipsum dolor sit amet, consectetur adipiscing elit, sed do eiusmod
    tempor incididunt ut labore et dolore magna aliqua. Ut enim ad minim veniam,
    quis nostrud exercitation ullamco laboris nisi ut aliquip ex ea commodo
    consequat. Duis aute irure dolor in reprehenderit in voluptate velit esse
    cillum dolore eu fugiat nulla pariatur. Excepteur sint occaecat cupidatat
    non proident, sunt in culpa qui officia deserunt mollit anim id est laborum!
  </p>
  <div class="icon">☕</div>
  <button>Button</button>
  <hr />
  <h2>Hover over the following lines to see loading elements</h2>
</div>
Finally, we will apply some style to the skeleton loader. We will use spinning stripes to create a loading effect thanks to an animation defined using the @keyframes rule:
app.component.scss
.icon {
  font-size: 35px;
  width: 40px;
}

.skeleton {
  cursor: wait;
  & * {
    cursor: wait;
    color: transparent;
    background: linear-gradient(
      -45deg,
      transparent 25%,
      #dce1fc 25%,
      #dce1fc 50%,
      transparent 50%,
      transparent 75%,
      #dce1fc 75%
    );
    background-size: 27px 27px;
    animation: stripes infinite linear;
  }
}

@keyframes stripes {
  from {
    background-position: 0%;
  }
  to {
    background-position: 100%;
  }
}
And here is the end result: